Whole Wheat Bread – A Healthy Choice for My Husband’s Diet
Whole wheat bread is made from flour that retains the bran and germ, unlike refined white flour. It’s one of the oldest grain-based breads known to humanity and is packed with fiber, vitamins, and minerals—making it a great choice for digestive health and blood sugar control. These days, it’s a popular alternative to white bread in wellness and diet-focused meals.
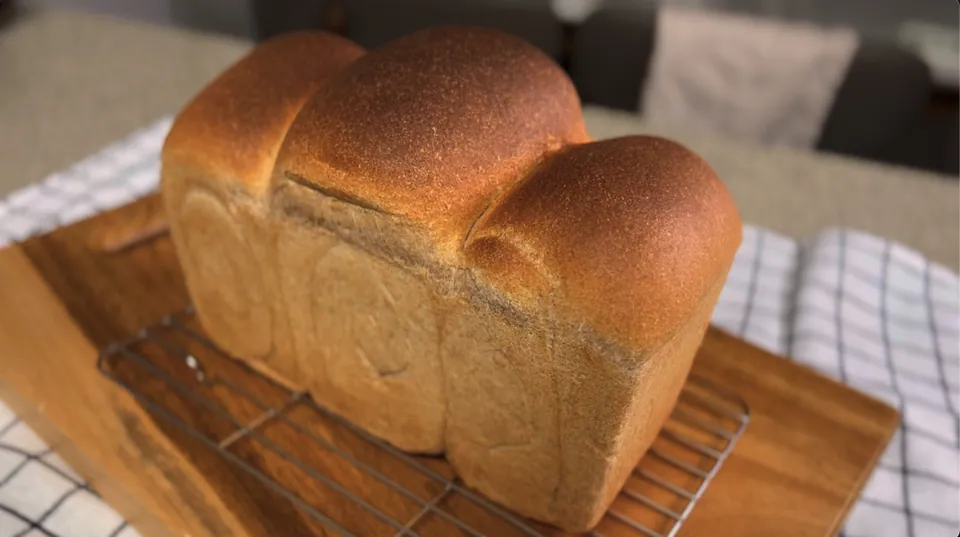
Hello there~
Today, I’d love to share my story of baking 100% whole wheat bread to support my husband’s diet and health journey.
For someone who loves bread, giving it up completely is incredibly difficult and rarely sustainable. My husband enjoys having toast for breakfast, so instead of asking him to stop eating bread, I decided to make a healthier version at home. By replacing refined white flour with nutrient-rich whole wheat flour, I could bake a wholesome, delicious loaf that he could enjoy guilt-free. In this post, I will share how I adapted a recipe by CasaYoon to create a 100% whole wheat bread that is soft, moist, and tender, rather than dense and dry.
Whole wheat flour is made by grinding the entire wheat kernel, including the outer husk (bran), the nutrient-rich core (germ), and the starchy middle (endosperm). Refined white flour, by contrast, removes the bran and germ, leaving only the starchy endosperm. Because it retains the whole grain, whole wheat flour contains over six times the dietary fiber of white flour, as well as essential B vitamins, minerals (like iron and magnesium), and antioxidants. It also has a lower glycemic index (GI), which means it raises blood sugar levels slowly and gradually, making it an excellent choice for blood sugar management and weight control. However, baking with 100% whole wheat flour can be challenging. Without an understanding of the science behind whole grains, you can easily end up with a heavy, dry, and bitter loaf.
As a self-taught baker, I have spent a lot of time researching the physics and chemistry of whole grain baking. Today, I will explain the scientific principles that make whole wheat bread soft and show you how to bake a perfect loaf in your own kitchen.
📋 Recipe Overview
- Prep & Baking Time: Approx. 3 hours 30 mins (including autolyse & proofing)
- Difficulty: Medium to Hard
- Servings: 1 Loaf
- Cooking Method: Bread Baking / Oven Baking
🧂 Let’s Start with the Ingredients and Whole Grain Science
Baking a soft 100% whole wheat bread requires adjusting your hydration levels and using ingredients that tenderize the crumb. Here is what you will need:
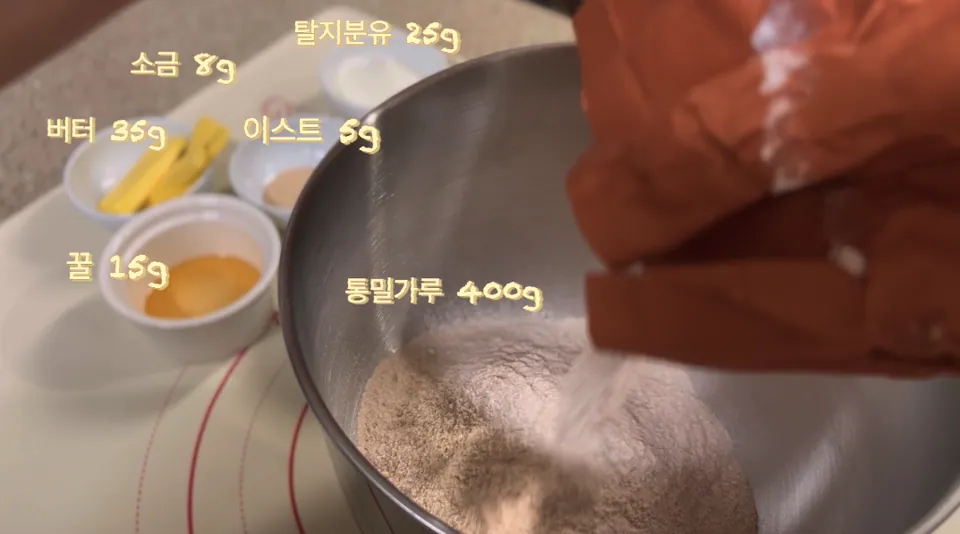
Loaf Ingredients:
- Whole wheat flour: 400g
- Dry yeast: 5g
- Fine salt: 8g
- Honey: 15g (I used honey instead of sugar for better moisture retention and flavor.)
- Skim milk powder: 25g (You can also use leftover baby formula.)
- Unsalted butter: 35g
- Tap water: 300ml (This is a high hydration level of 75% to account for the whole grains.)
💡 The Science of Whole Wheat Ingredients
- How Bran Affects Gluten Development: The outer shell of the wheat kernel, the bran, is ground into small, sharp, flake-like particles. During the kneading process, these sharp bran flakes act like tiny razor blades, cutting the delicate gluten strands as they form. This weakened gluten network cannot trap carbon dioxide gas as effectively, which is why 100% whole wheat breads tend to be dense and rise poorly. To counter this, we must soften the bran before kneading.
- The Need for High Hydration (75%): Whole wheat flour absorbs significantly more water than white flour. This is because the bran contains high levels of dietary fiber and pentosans (non-starch polysaccharides), which absorb up to eight times their weight in water. If you use the same amount of water as a white bread recipe, the dough will be dry, crumbly, and dense. Using a 75% hydration level (300ml of water to 400g of flour) ensures the flour is fully hydrated and the baked bread remains soft.
- Honey as a Natural Humectant: Honey is rich in fructose and glucose, which are simple sugars that are easily consumed by yeast. Honey is also hygroscopic, meaning it actively attracts and holds onto water molecules. By replacing white sugar with honey, we help the baked bread retain its moisture and stay fresh and soft for days. Honey also adds a subtle sweetness that balances the naturally bitter, grassy notes of whole wheat.
- Why Skim Milk Powder Matters: Skim milk powder contains milk proteins (casein and whey) and lactose. These proteins act as tenderizers in the dough, softening the gluten structure to produce a more delicate crumb. Lactose is a non-fermentable sugar, meaning yeast cannot digest it. It remains in the dough and undergoes the Maillard browning reaction in the oven, giving the crust a rich, golden color.
🌀 Autolyse and Kneading
Combine all the ingredients except the butter (whole wheat flour, yeast, salt, honey, milk powder, and water) in your mixing bowl. Stir with a spatula just until the flour is wet and forms a shaggy, rough ball. Cover the bowl and let the dough rest at room temperature for 30 minutes. This is the Autolyse phase.
For whole wheat baking, the autolyse step is essential. During this 30-minute rest, the water fully penetrates the sharp bran flakes, softening them and making them flexible. Softened bran is much less likely to cut the gluten strands during kneading, allowing the dough to develop a stronger, more elastic gluten network.
After the autolyse, transfer the dough to your mixer. I used the L’equip mixer’s auto mode to knead the dough efficiently.
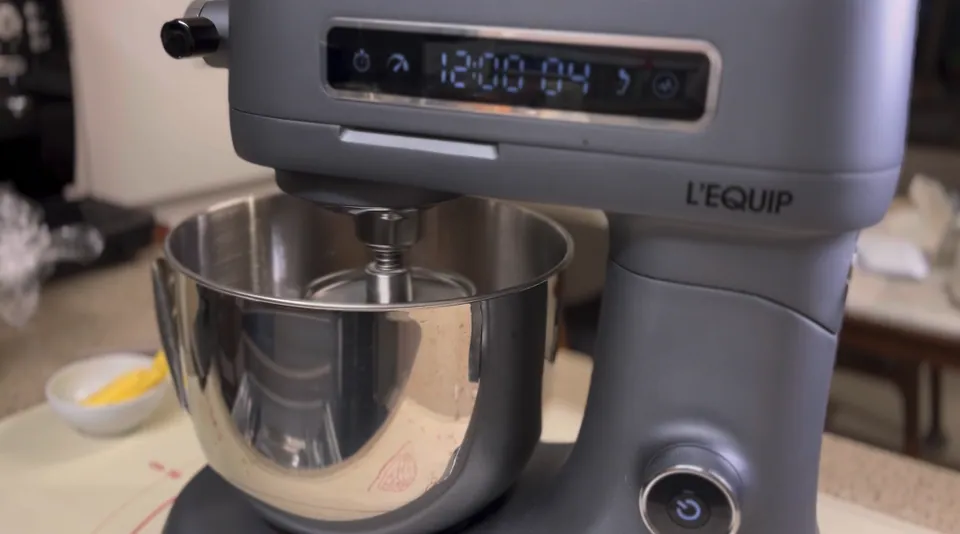
Once the dough becomes cohesive and develops a basic gluten structure, add the 35g of butter and continue kneading. Even though this is 100% whole wheat, the dough will become smooth, soft, and elastic.
⏱️ First Proof and the Broken Scale Dilemma
Shape the dough into a ball, place it in a bowl, cover it with plastic wrap, and let it proof at room temperature for 1 hour. Whole wheat flour contains natural minerals and nutrients that feed the yeast, which can speed up the fermentation process. The dough is ready when it has doubled in size.
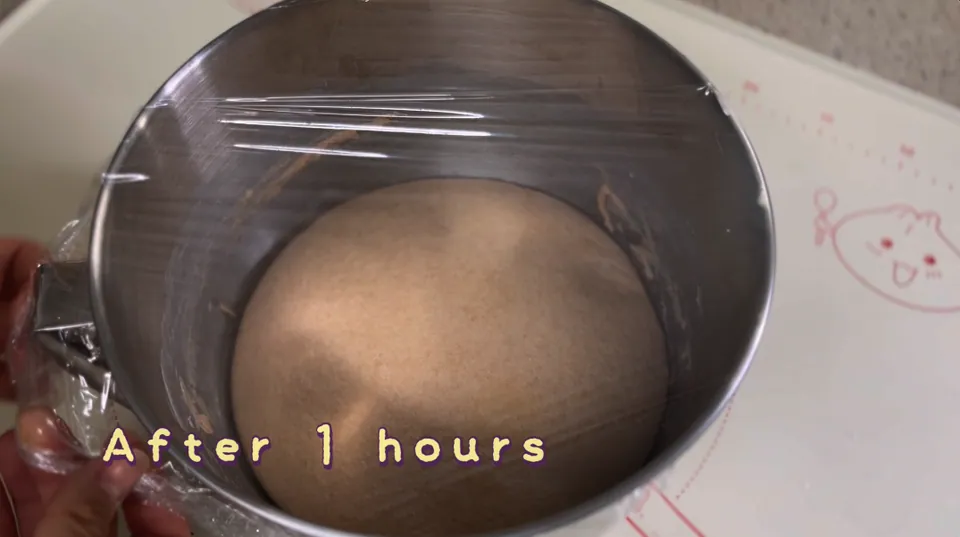
After the first proof, gently press down on the dough to release the gas bubbles. Now, here is a quick story from my kitchen: right as I went to divide the dough into three portions, my digital scale broke! 😅 Since baking requires precision, I had to think quickly.
If your scale ever fails, you can divide dough evenly by rolling it into a uniform cylinder and using a ruler or equal spacing to mark and cut it into three pieces. This visual guide works surprisingly well! Shape each portion into a rough rectangle, round them gently, and let them rest for 15 minutes under plastic wrap. This bench rest relaxes the gluten, making it easy to roll out the dough without it shrinking back.
🍞 Shaping the Loaf
To shape the dough into a classic sandwich loaf:
- Roll out a rested dough portion into a long, flat rectangle using a rolling pin.
- Flip the dough over so the smooth side faces down. This ensures the outer crust of your finished loaf looks smooth and neat.
- Fold the dough into thirds, like a letter. Roll it lightly with the rolling pin to flatten it.
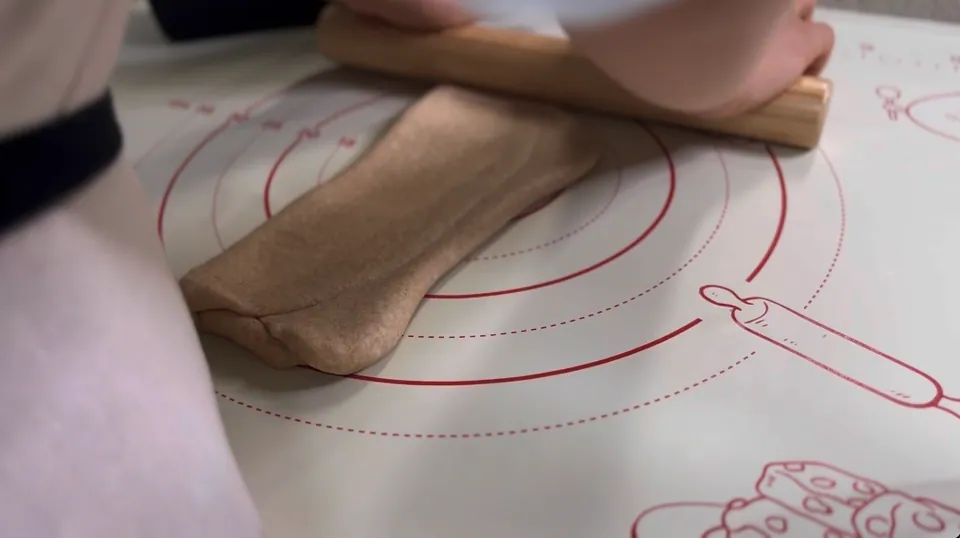
- Roll the dough up tightly from the top down. Pinch the bottom seam firmly to seal it. Sealing the seam prevents the loaf from opening up during baking.
- Place the three rolled dough portions side-by-side in a greased loaf pan. Cover with plastic wrap and let them proof for 1 hour until the dough fills 80% to 90% of the pan.
🔥 Baking and the Science of Cooling Bread
Preheat your oven, spray the top of the dough lightly with water, and bake at 180°C (356°F) for 20 minutes.
After about 10 minutes of baking, your kitchen will fill with a rich, nutty, toasted grain aroma that is much deeper than the scent of white bread. Once baked, carefully remove the loaf from the pan and place it on a wire rack to cool.
As tempting as it is to slice into a warm, freshly baked loaf of bread, you must never slice bread while it is still hot.
⚠️ The Science of Starch Retrogradation
When bread is in the oven, the starch molecules in the flour absorb water and heat, swelling to form a soft gel (a process called gelatinization). When the bread first comes out of the oven, this gel structure is still warm, weak, and full of trapped steam. If you cut the bread while it is hot, the knife will crush the delicate, unset starch walls. The steam will escape rapidly, and the interior of the bread will collapse into a dense, gummy, and wet texture. Letting the bread cool completely on a wire rack allows the starches to undergo retrogradation—a process where the starch molecules cool, realign, and solidify into a stable structure. Slicing the bread after it has cooled ensures clean slices and a soft, airy, and dry crumb.
🍽️ The Perfect Healthy Meal
Once cooled and sliced, the bread is soft, moist, and tender. It has a wonderful chew and a rich, nutty flavor that is far superior to store-bought whole wheat bread.
Because this loaf is made with simple, wholesome ingredients and has no preservatives, it is incredibly easy on the stomach and digest. It makes a perfect base for healthy breakfasts, such as avocado toast, egg salad sandwiches, or simply toasted with a light smear of nut butter.
💛 Wrapping Up
Baking this 100% whole wheat bread was a wonderful way to support my husband’s health goals. Making small, sustainable changes—like replacing refined white bread with a home-baked whole grain alternative—is a great way to care for your family’s long-term wellness. Even when my scale broke, understanding the basic science of dough hydration and gluten relaxation allowed me to bake a beautiful, successful loaf.
🧪 The Science & Pro Tips for Successful Whole Wheat Bread
Whole wheat contains bran and germ, which make bread dense. Using biochemical reactions can help you achieve a lighter loaf.
- The Autolyse Method (Softening the Bran): Whole wheat bran consists of sharp fibers that act like tiny knives, cutting the delicate gluten strands during kneading. This releases carbon dioxide, resulting in a flat, dense bread. To prevent this, perform an autolyse—mix only the flour and water and let it rest for 30-45 minutes before adding yeast or salt. This fully hydrates and softens the bran, preventing it from slicing the gluten network.
- Managing Hydration Levels: Fiber absorbs significantly more water than white flour starch. You must increase the water content (hydration rate to about 68-75%). The dough should feel slightly wetter and stickier than white bread dough to ensure proper oven spring.
- Patience and Slow Fermentation: Rapid yeast growth can overstretch weak whole wheat gluten, causing the loaf to collapse. A slow rise at room temperature or overnight cold fermentation in the fridge strengthens the gluten mesh and allows natural enzymes to break down starches, creating a deeper flavor profile.
👩🍳 SSUCOOK’s Recipe Trustworthiness & Food Safety Guide
- Family-Tested Recipe: This recipe has been hand-crafted, cooked, and family-approved by SSUCOOK. I test and refine every step in my own kitchen to ensure a reliable culinary experience.
- Safe Food Storage: Do not leave cooked food at room temperature for more than 2 hours. Transfer it to an airtight container and refrigerate below 4°C (39°F). Consume within 3 days. For longer storage, freeze portions for up to 1 month. When preparing meals for infants or vulnerable individuals, maintain strict kitchen hygiene by separating knives and cutting boards for raw meat and vegetables.
I hope this guide encourages you to try whole wheat baking in your own kitchen. It is a rewarding process that fills your home with warmth and delicious, healthy food. Happy baking! :)