Homemade Salt Butter Rolling – A Day Filled with Savory Aroma
Salt Butter Rolling comes from Brittany, France, a coastal region famous for its sea salt and top-quality butter. Long ago, bakers combined these two treasures to create a bread that’s crisp on the outside, soft inside, and sprinkled with coarse salt for a delightful savory bite. It’s not sweet, making it perfect with coffee or tea. In recent years, it’s become a must-try treat in Korea, with people lining up to get a taste.
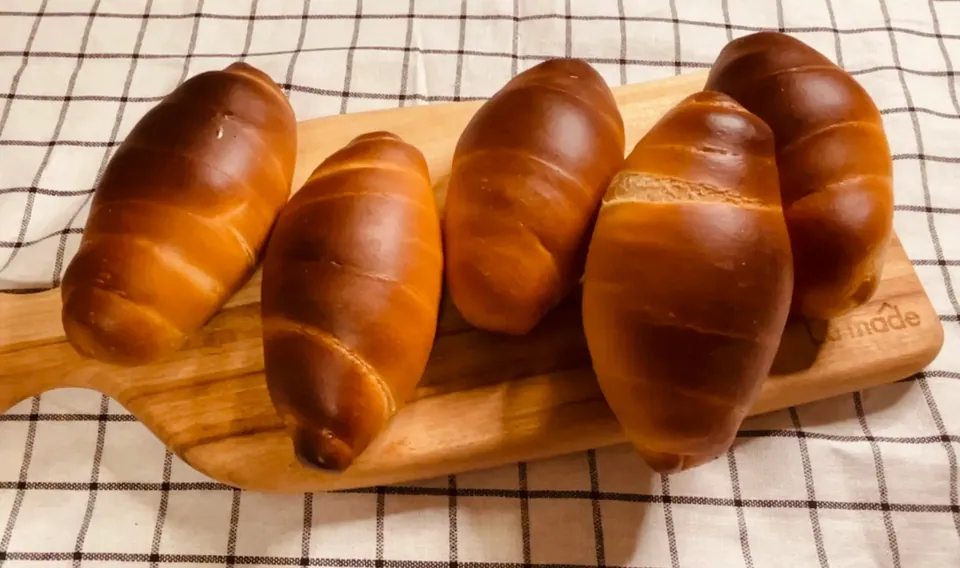
Hello there :)
Today, I’d love to share my experience making one of my absolute favorite breads — salt bread (also known as Shio Pan or Salt Butter Rolls) — right in my home kitchen. My husband is incredibly fond of this bread, which means it makes a frequent appearance in our oven. Every time I bake a batch, the kitchen fills with the most intoxicating, warm, buttery aroma. It is a sensory experience that brings so much joy and cozy warmth to our household. This time, I followed a popular recipe by Duke as my foundation, but I have infused it with several of my own trial-and-error tips, culinary insights, and specific techniques that I have discovered along my self-taught baking journey.
If you look into the origins of this delightful roll, you will find a rich history rooted in the northwestern coastal region of Brittany, France. Brittany is world-renowned for its pristine salt marshes, which produce high-quality sea salt (like Fleur de Sel), and its lush pastures, which yield exceptionally rich, high-fat butter. Local French bakers combined these two local treasures to create a bread that is incredibly crisp on the outer crust, soft and pillowy on the inside, and punctuated by coarse grains of salt that pop with savory goodness on the tongue. In recent years, this simple yet sophisticated combination has taken the Korean baking scene by storm. People line up for blocks just to get their hands on a freshly baked batch.
Since I am a self-taught home baker, my early attempts were far from perfect. I struggled with rolls that collapsed, butter leaking out entirely onto the pan, and tough dough. However, by studying the science of breadmaking, I learned how to turn those failures into successes. Today, I am excited to share those scientific principles and practical tips so you can achieve bakery-quality salt rolls at home on your very first try.
📋 Recipe Overview
- Prep & Baking Time: Approx. 2 hours 15 mins (including proofing)
- Difficulty: Medium
- Servings: 8 rolls
- Cooking Method: Oven Baking
🧑🍳 Let’s Start with the Ingredients and Baker’s Science
Baking is a precise science, and this is especially true for salt bread. The balance of hydration, protein, and temperature determines whether you get a heavy roll or a light, flaky, hollow-centered masterpiece. Here is what you will need:
Dry Ingredients and Liquids:
- Bread flour: 200g
- Cake flour: 50g
- Skim milk powder: 15g (I used leftover baby formula instead, which worked wonderfully!)
- Dry yeast: 3g
- Fine salt: 5g
- White sugar: 15g
- Tap water: 165ml (Tap water is preferred over highly filtered water for better gluten development)
- Cold unsalted butter for filling: 60g (divided into 6 sticks of 10g each, kept chilled in the fridge)
- Flaky sea salt (like Maldon salt or coarse pearl salt) for topping
💡 The Science of the Ingredients
- The Flour Ratio (Bread Flour vs. Cake Flour): Bread flour contains a high concentration of gluten-forming proteins (glutenin and gliadin). When mixed with water, these proteins bind to form a strong, elastic gluten network that gives bread its chewiness and holds the expanding gases. However, using 100% bread flour can make the rolls too chewy or tough. By blending in 20% cake flour, which has a much lower protein content, we interrupt the gluten structure just enough to create a tender, soft crumb while maintaining a crisp outer crust. This is the secret to the perfect “crispy-outside, soft-inside” texture.
- Utilizing Baby Formula as a Substitute: Skim milk powder is traditionally added to enrich the dough. However, as a mom, I decided to use my baby’s formula milk powder instead of buying a separate bag of skim milk. Baby formula contains lactose (milk sugar) and fats. Lactose is a non-fermentable sugar, meaning yeast cannot digest it. As a result, the lactose remains intact in the dough and undergoes the Maillard reaction (a chemical reaction between amino acids and reducing sugars) under the high heat of the oven. This reaction caramelizes the surface, resulting in a beautiful golden-brown color and a deeper, milkier flavor profile.
- The Yeast-Salt-Sugar Separation Rule: Yeast is a living organism (Saccharomyces cerevisiae). Both salt and sugar are hygroscopic, meaning they pull water toward themselves. If yeast comes into direct contact with concentrated salt or sugar during the weighing process, it will undergo osmotic shock. The salt or sugar will draw the water out of the yeast cell walls, dehydrating and killing the yeast, which leads to a flat, dense loaf. To prevent this, place them in separate corners of the mixing bowl and coat them lightly with flour before blending the dry ingredients.
- Why Tap Water Trumps Filtered Water: Purified water (especially reverse osmosis or distilled water) lacks dissolved minerals. Minerals like calcium and magnesium are essential in breadmaking because they act as gluten strengtheners, reinforcing the protein bonds. Using water that is too soft or completely demineralized results in a sticky, slack dough that lacks structure. Tap water contains just the right amount of mineral hardness to support a strong gluten network.
🌀 Autolyse and Kneading
To begin, whisk your dry ingredients together thoroughly. Pour in the 165ml of water and mix with a spatula just until the flour is hydrated and no dry spots remain. The dough will look shaggy and unrefined. Cover the bowl and let it rest at room temperature for 30 minutes. This is called the Autolyse phase.
🧪 What is Autolyse?
Autolyse is a baking technique where flour and water are allowed to rest before active kneading begins. During this half-hour, the flour fully absorbs the water, and natural enzymes (specifically proteases) present in the flour begin to break down some of the protein bonds. This relaxes the dough, making it highly extensible (stretchy) and much easier to knead. By allowing nature to do the initial work, you cut your active mixing time in half, which prevents the dough from overheating due to mixer friction. Overheating is a common cause of premature yeast fermentation, which ruins the texture of the bread.
After the autolyse, transfer the dough to your mixer. I use the L’EQUIP dough mixer for this step. It is a fantastic machine for home bakers because it automatically handles speed transitions and alerts you when to add the room-temperature butter to the dough.
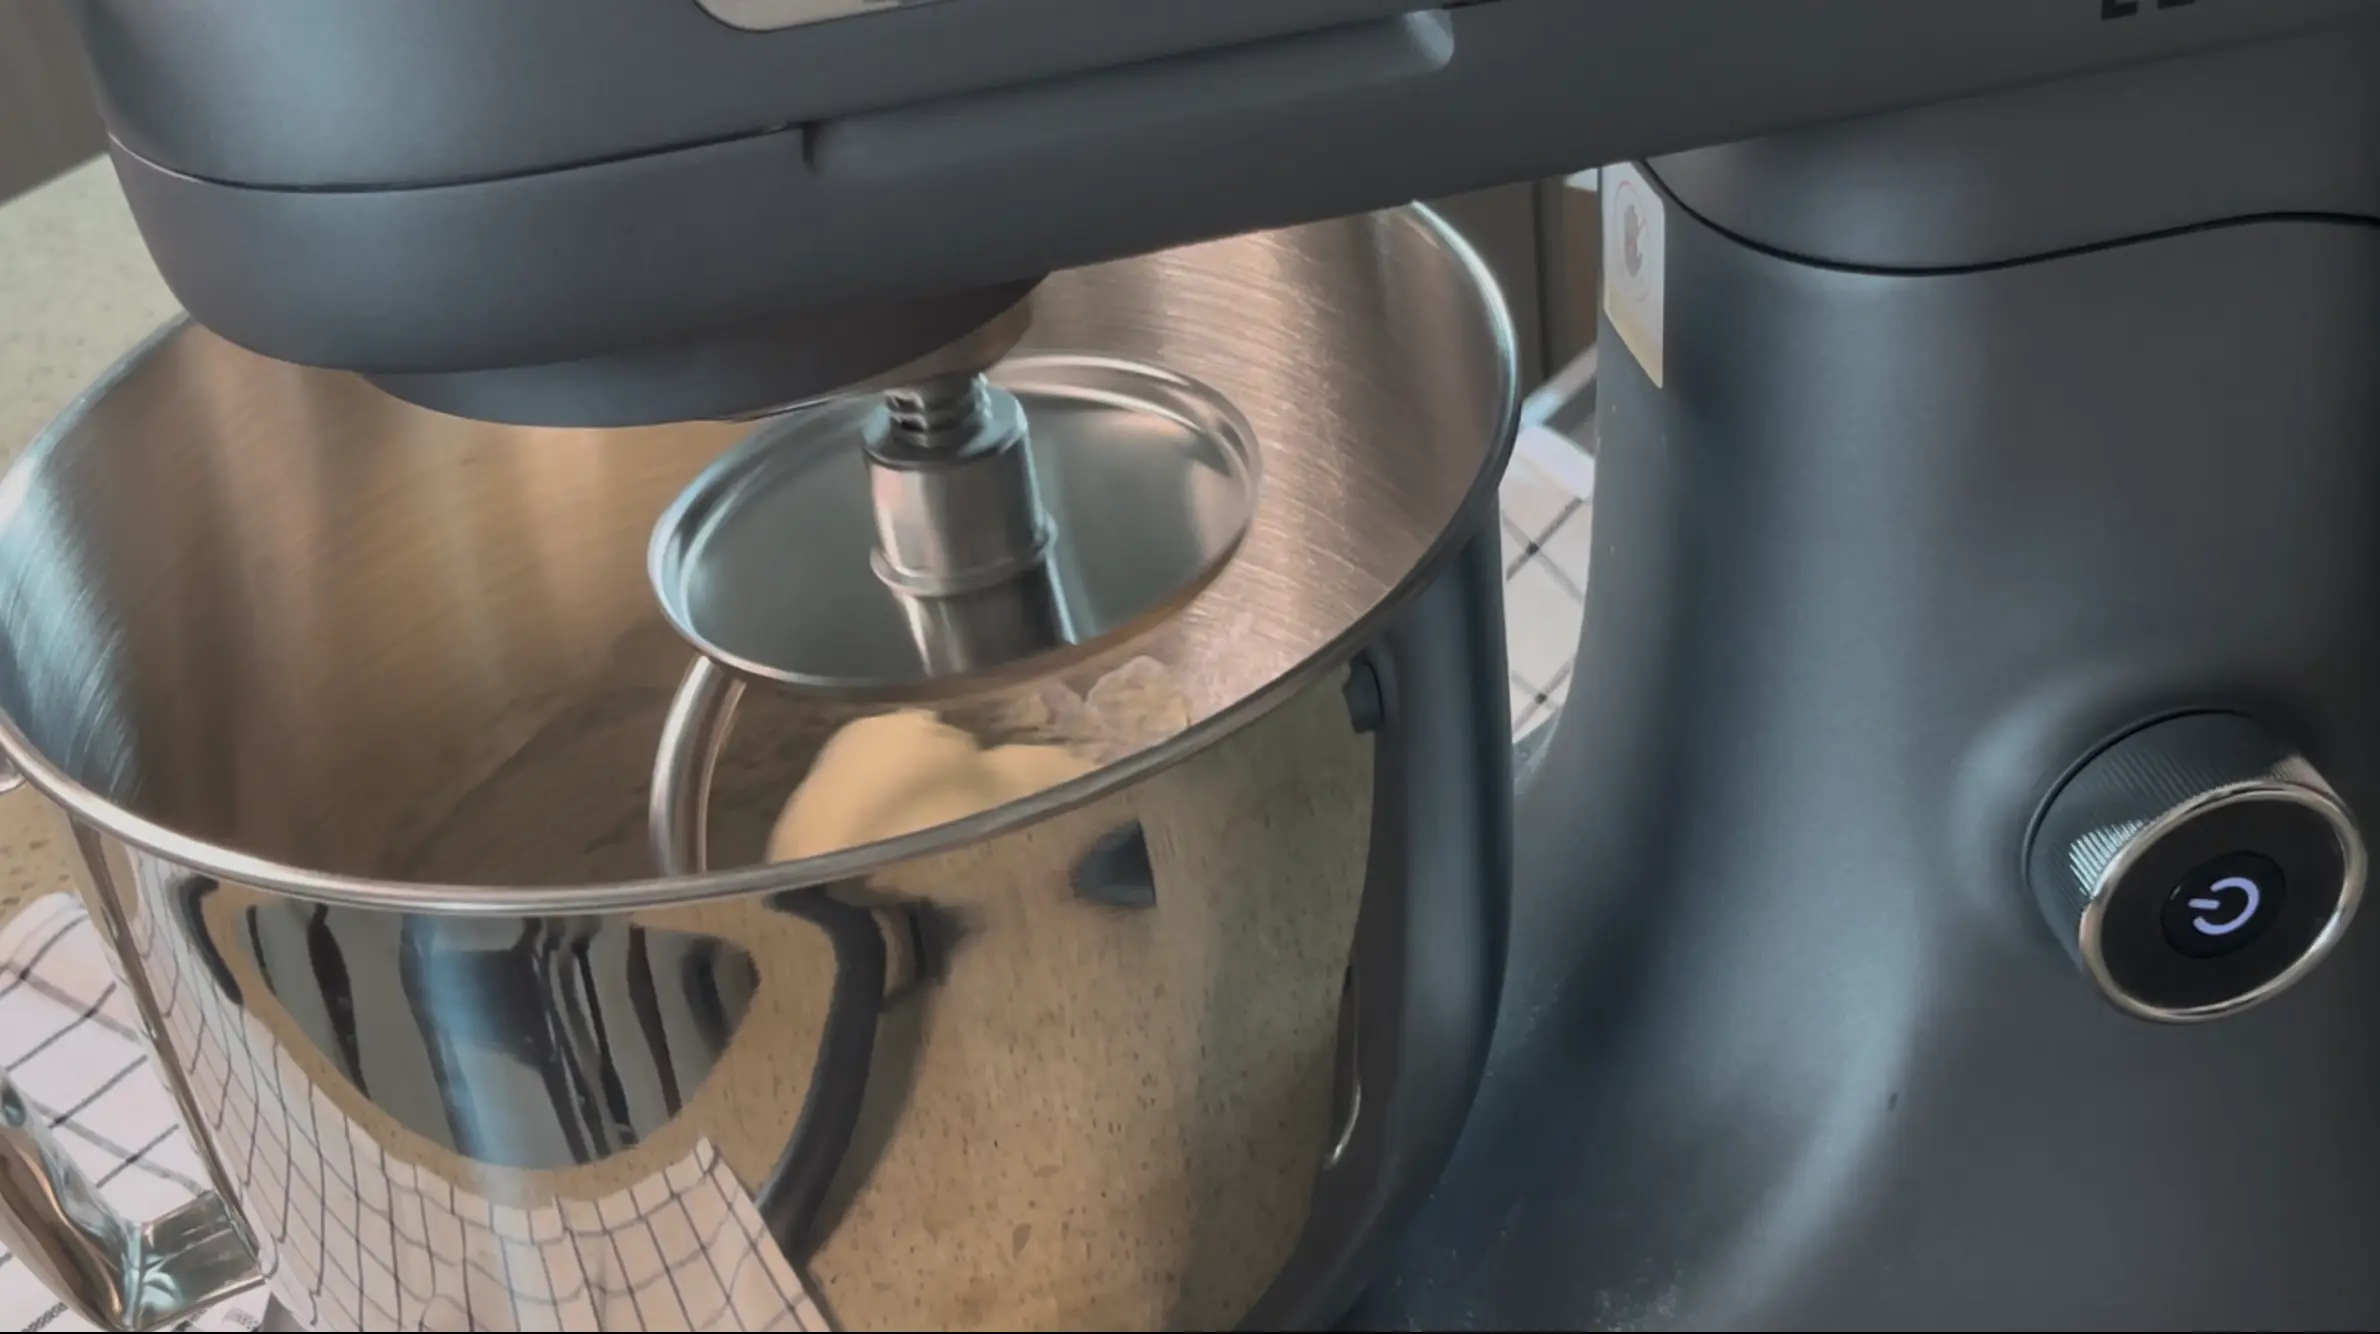
Knead the dough until it passes the “windowpane test”—meaning you can stretch a small piece of dough thin enough to see light through it without it tearing. Form the dough into a smooth ball, place it in a bowl, cover it with plastic wrap, and let it ferment at room temperature (around 24–26°C) for 60 minutes until it doubles in size.
🍞 Dividing, Shaping, and the Bench Rest
Once the first fermentation is complete, gently press down on the dough to release the accumulated carbon dioxide gases. Divide the dough into six equal portions, weighing approximately 70g each.
Round each portion into a smooth ball by folding the edges underneath. Then, roll each ball against your work surface using the palm of your hand to shape it into a tadpole (or carrot) shape, where one end is thick and rounded, and the other end tapers down to a thin tail. This shape is crucial because it allows you to roll the dough into a neat, layered triangle later on.
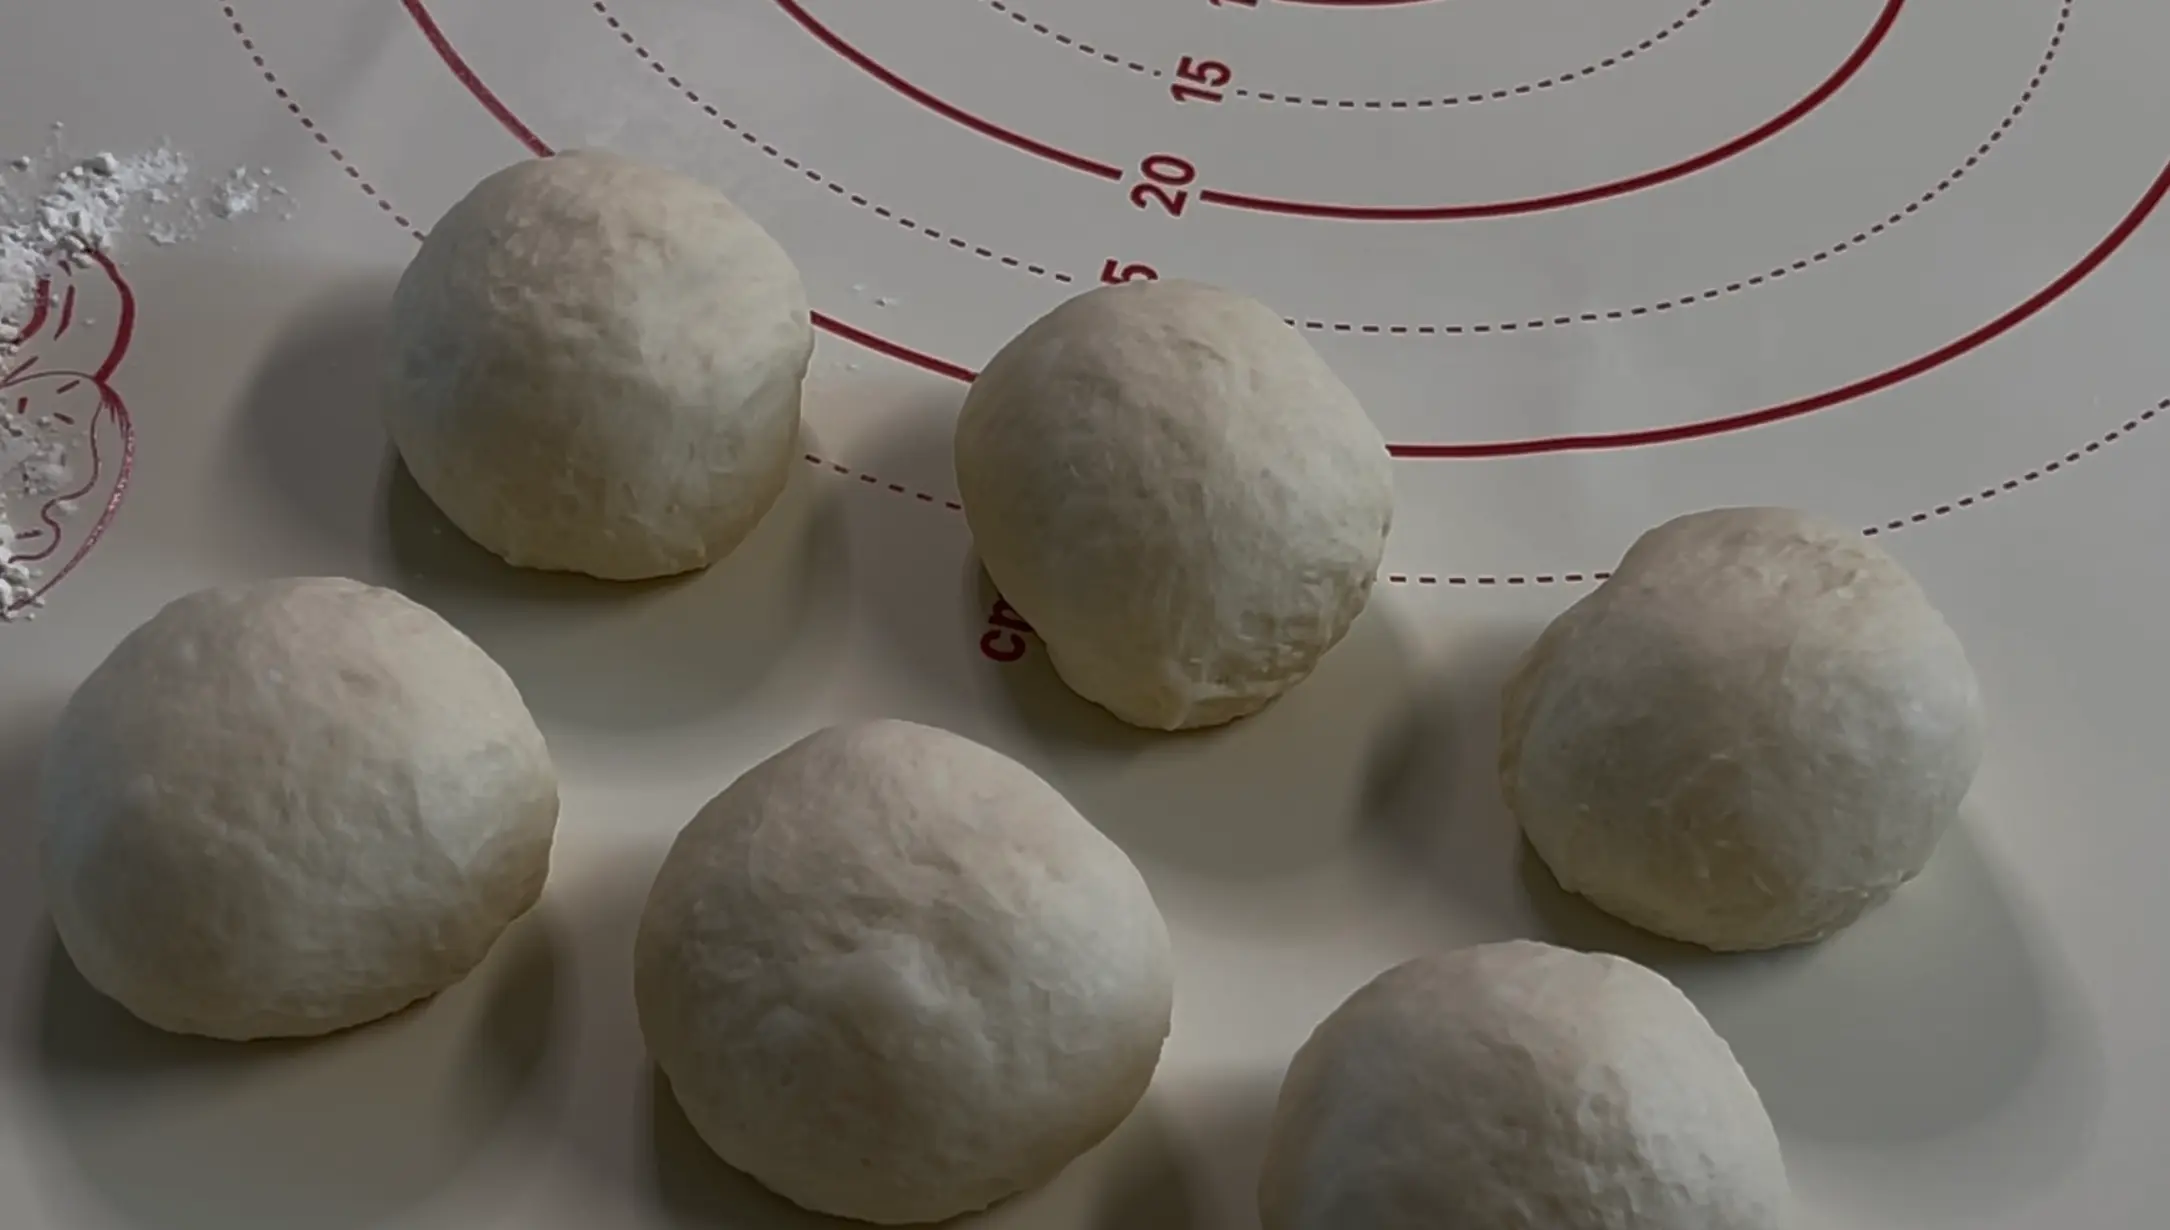
Cover the tadpole-shaped dough pieces with plastic wrap to prevent them from drying out, and let them rest at room temperature for 20 minutes. This is known as the bench rest.
💡 Why the Bench Rest is Non-Negotiable
When you divide and round dough, you actively agitate the gluten network, causing it to tighten and resist further shaping. If you attempt to roll out the dough immediately after dividing, it will spring back like a rubber band and potentially tear. Giving the dough 20 minutes to rest allows the tense gluten fibers to relax (realign). Once relaxed, the dough becomes compliant, allowing you to roll it out thin and long without resistance.
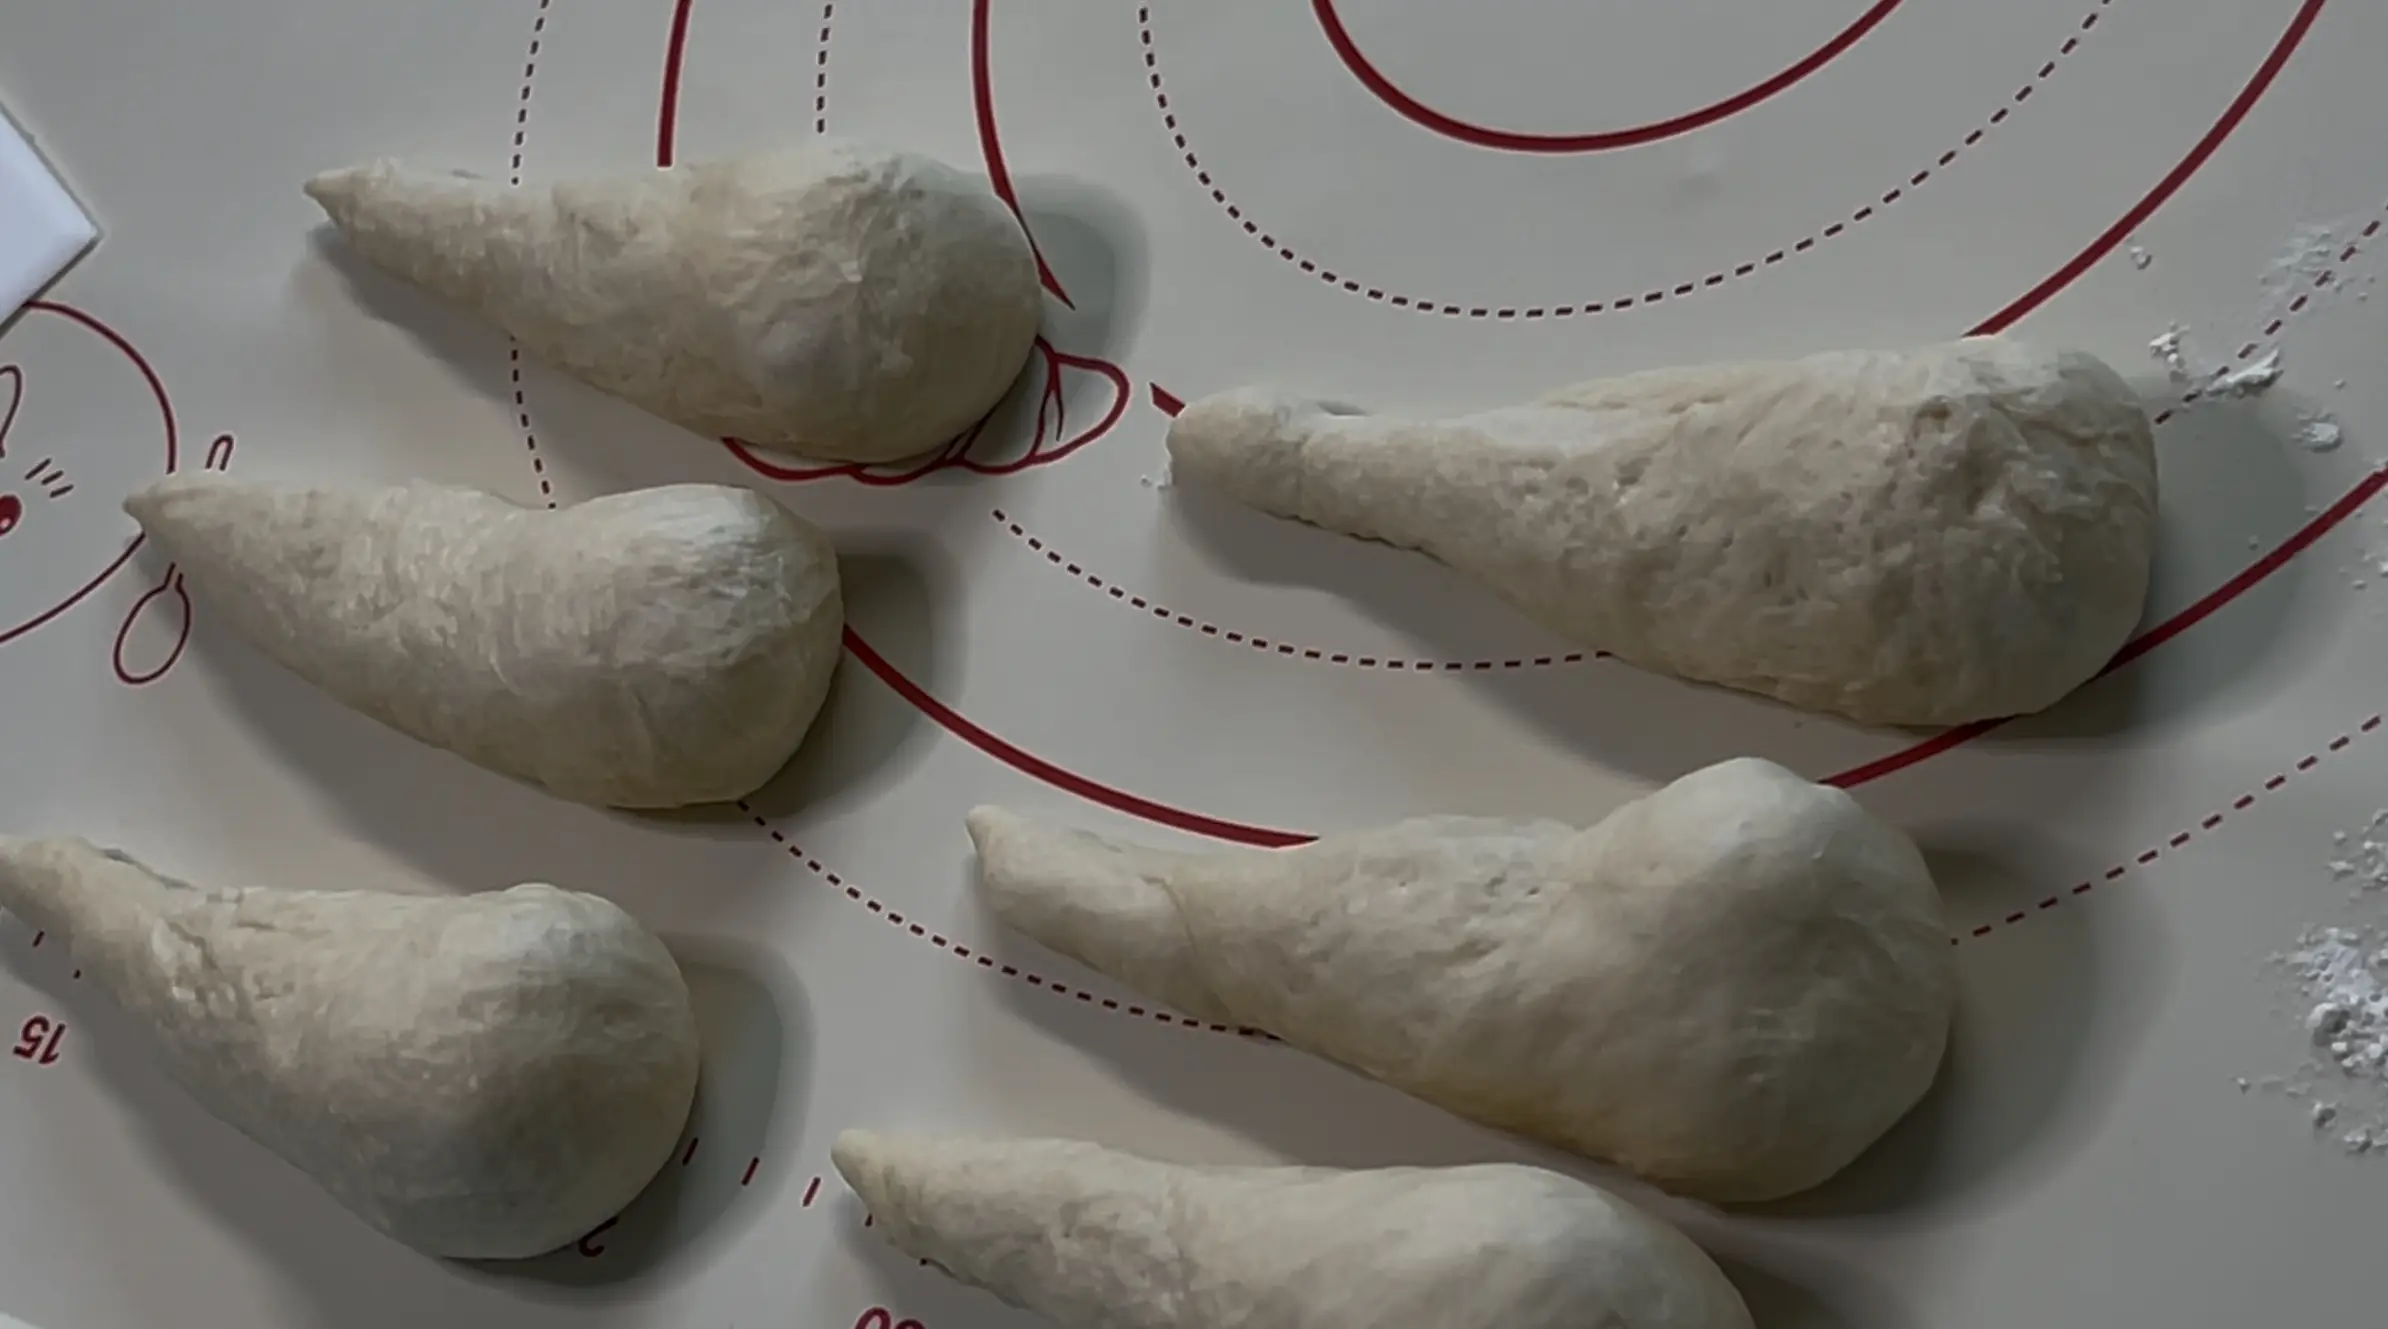
After the bench rest, take one piece of dough, place the rolling pin in the middle, and roll upward toward the thick head. Then, holding the thin tail with one hand, roll downward toward the tail. You want to create a long, thin isosceles triangle.
🧈 The Butter Filling and Shaping Secrets
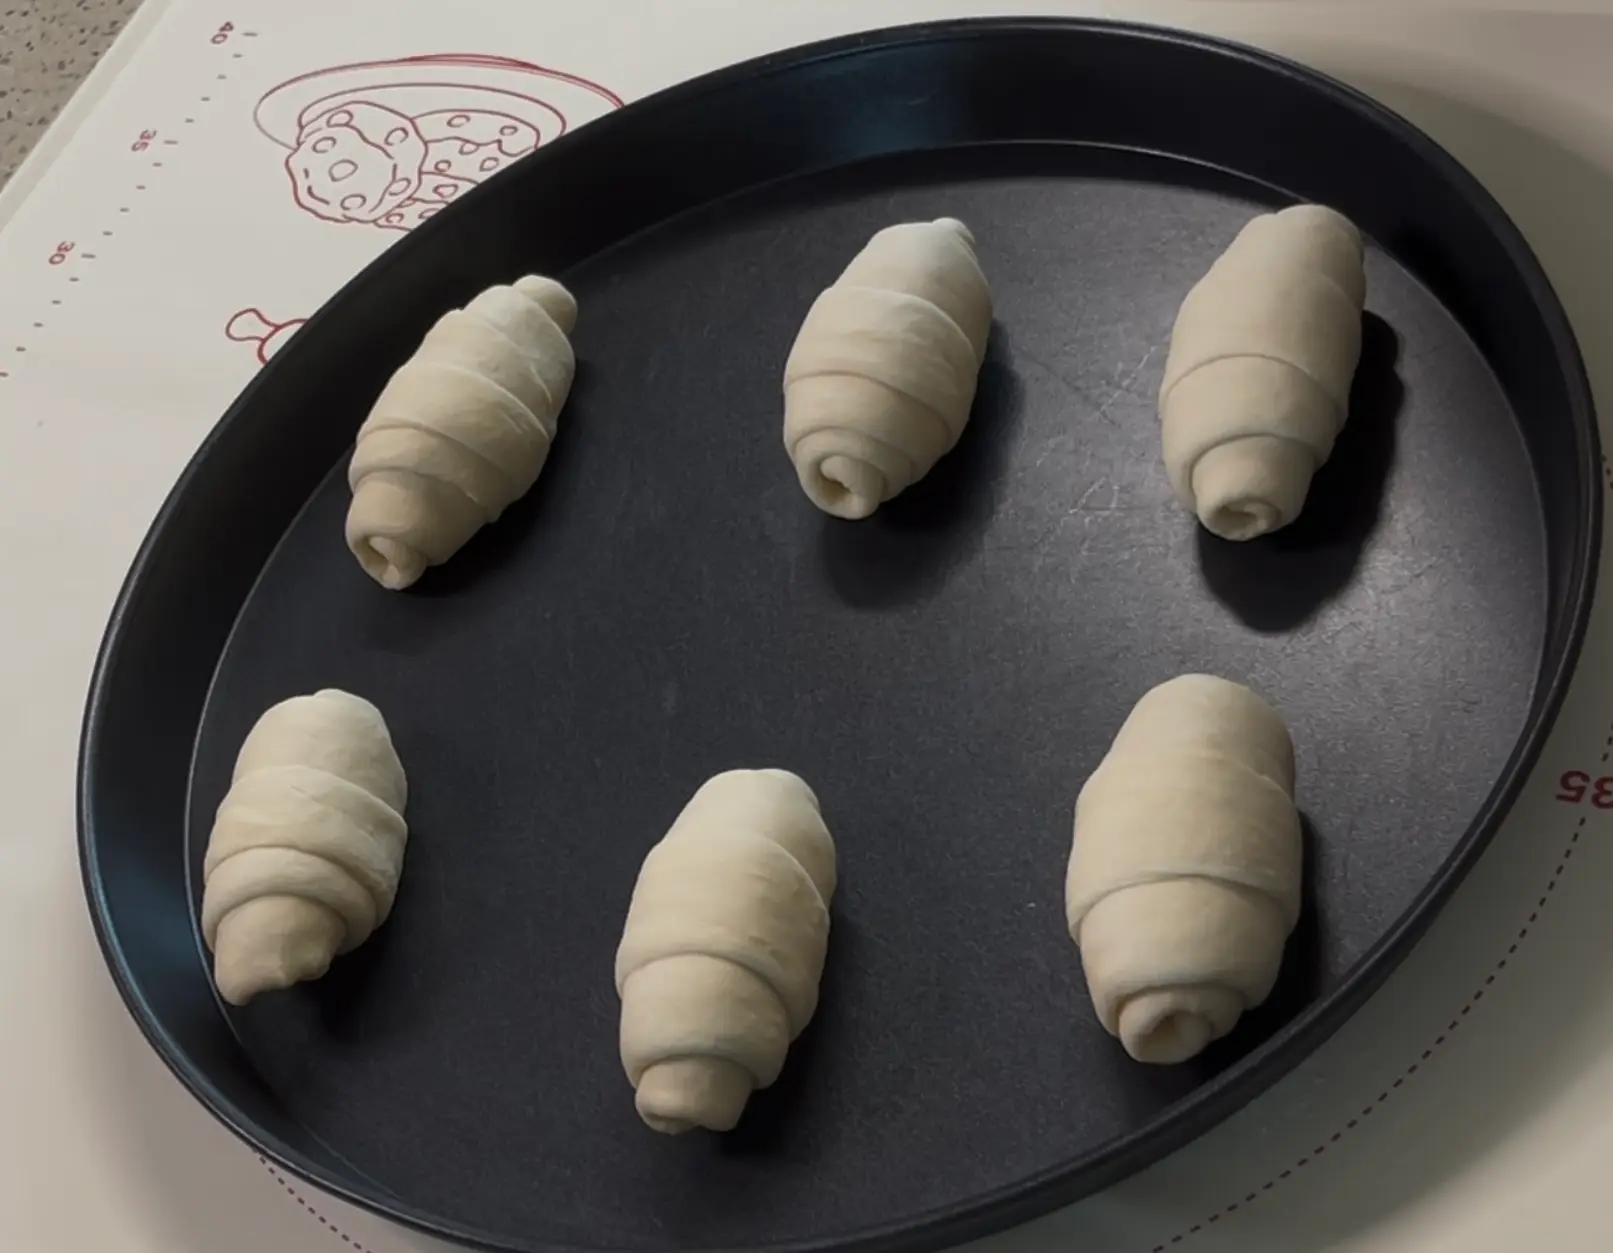
Now, place a 10g stick of cold unsalted butter at the wide end of the triangle. Fold the top flap of dough over the butter, pinch the edges gently to secure it, and roll the dough down toward the narrow tip. Repeat this for the remaining five pieces.
⚠️ The Golden Rule: Keep the Butter Cold!
Your filling butter must remain cold and solid until the bread goes into the oven. If the butter is soft or melts during the shaping and proofing stages, it will absorb directly into the surrounding dough. When baked, the butter will act like fat in a cake, resulting in a heavy, greasy, and dense roll. However, if the butter remains solid, it will melt rapidly only when exposed to the high heat of the oven. As it melts, the water content in the butter evaporates into steam, pushing the surrounding dough outward to create a hollow chamber—the signature “butter cave” of a perfect salt roll.
When rolling the dough, you might wonder whether you should seal the sides to trap the butter. Korean master baker Bread Junseo shares an invaluable tip: never seal the sides of your salt rolls. Leaving the sides open allows a portion of the melting butter to escape during baking. This liquid gold pools at the bottom of the roll, frying the base of the dough against the hot baking sheet. This creates an incredibly crispy, crunchy, and savory bottom crust that contrast beautifully with the soft, airy interior. Ever since I adopted this technique, my salt rolls have had that irresistible crispy bottom.
🔥 Final Proof and the Science of Steam Baking
Place the shaped rolls onto a baking sheet lined with parchment paper or a silicone baking mat, leaving ample space between them. Let them proof for 50 to 60 minutes at room temperature. Avoid proofing in a warm drafty area (above 28°C), as this will melt the butter core prematurely. You will know they are ready when they look puffy, slightly translucent, and jiggly like pudding when you gently shake the tray. Be careful not to over-proof them; over-proofed dough loses its structure and will deflate instantly in the oven.
Before baking, spray the surfaces of the rolls generously with water. (While salt rolls are traditionally topped with coarse sea salt, I decided to skip the topping this time to keep the rolls milder for my baby. If you prefer the classic version, sprinkle a few flakes of Maldon salt or coarse pearl salt on top right after spraying them with water.)
Preheat your oven to 220°C (428°F). We will bake the rolls at 200°C (392°F) for 20 minutes.
💨 Steam Baking in a Home Oven: The Chemical Process
Commercial bread ovens feature steam injection systems that create a thin, crispy crust. To mimic this at home, we spray water on the dough, or place a shallow pan of lava rocks/cast iron on the bottom rack during preheating and pour hot water into it just as we load the bread. When steam fills the oven, it condenses on the cold dough surface. This moisture keeps the outer skin of the dough flexible, preventing a premature crust from forming. This flexibility allows the gases inside the dough to expand fully, producing a dramatic Oven Spring and a light, airy texture. Furthermore, the heat gelatinizes the starches on the surface, forming a thin, glossy, glass-like shell. It also accelerates the Maillard reaction, giving the bread its signature deep golden hue and crispy bite.
Once baked, transfer the rolls immediately to a wire rack to cool. Brushing the tops with a little melted butter while they are hot adds a beautiful glossy shine and seals in moisture.
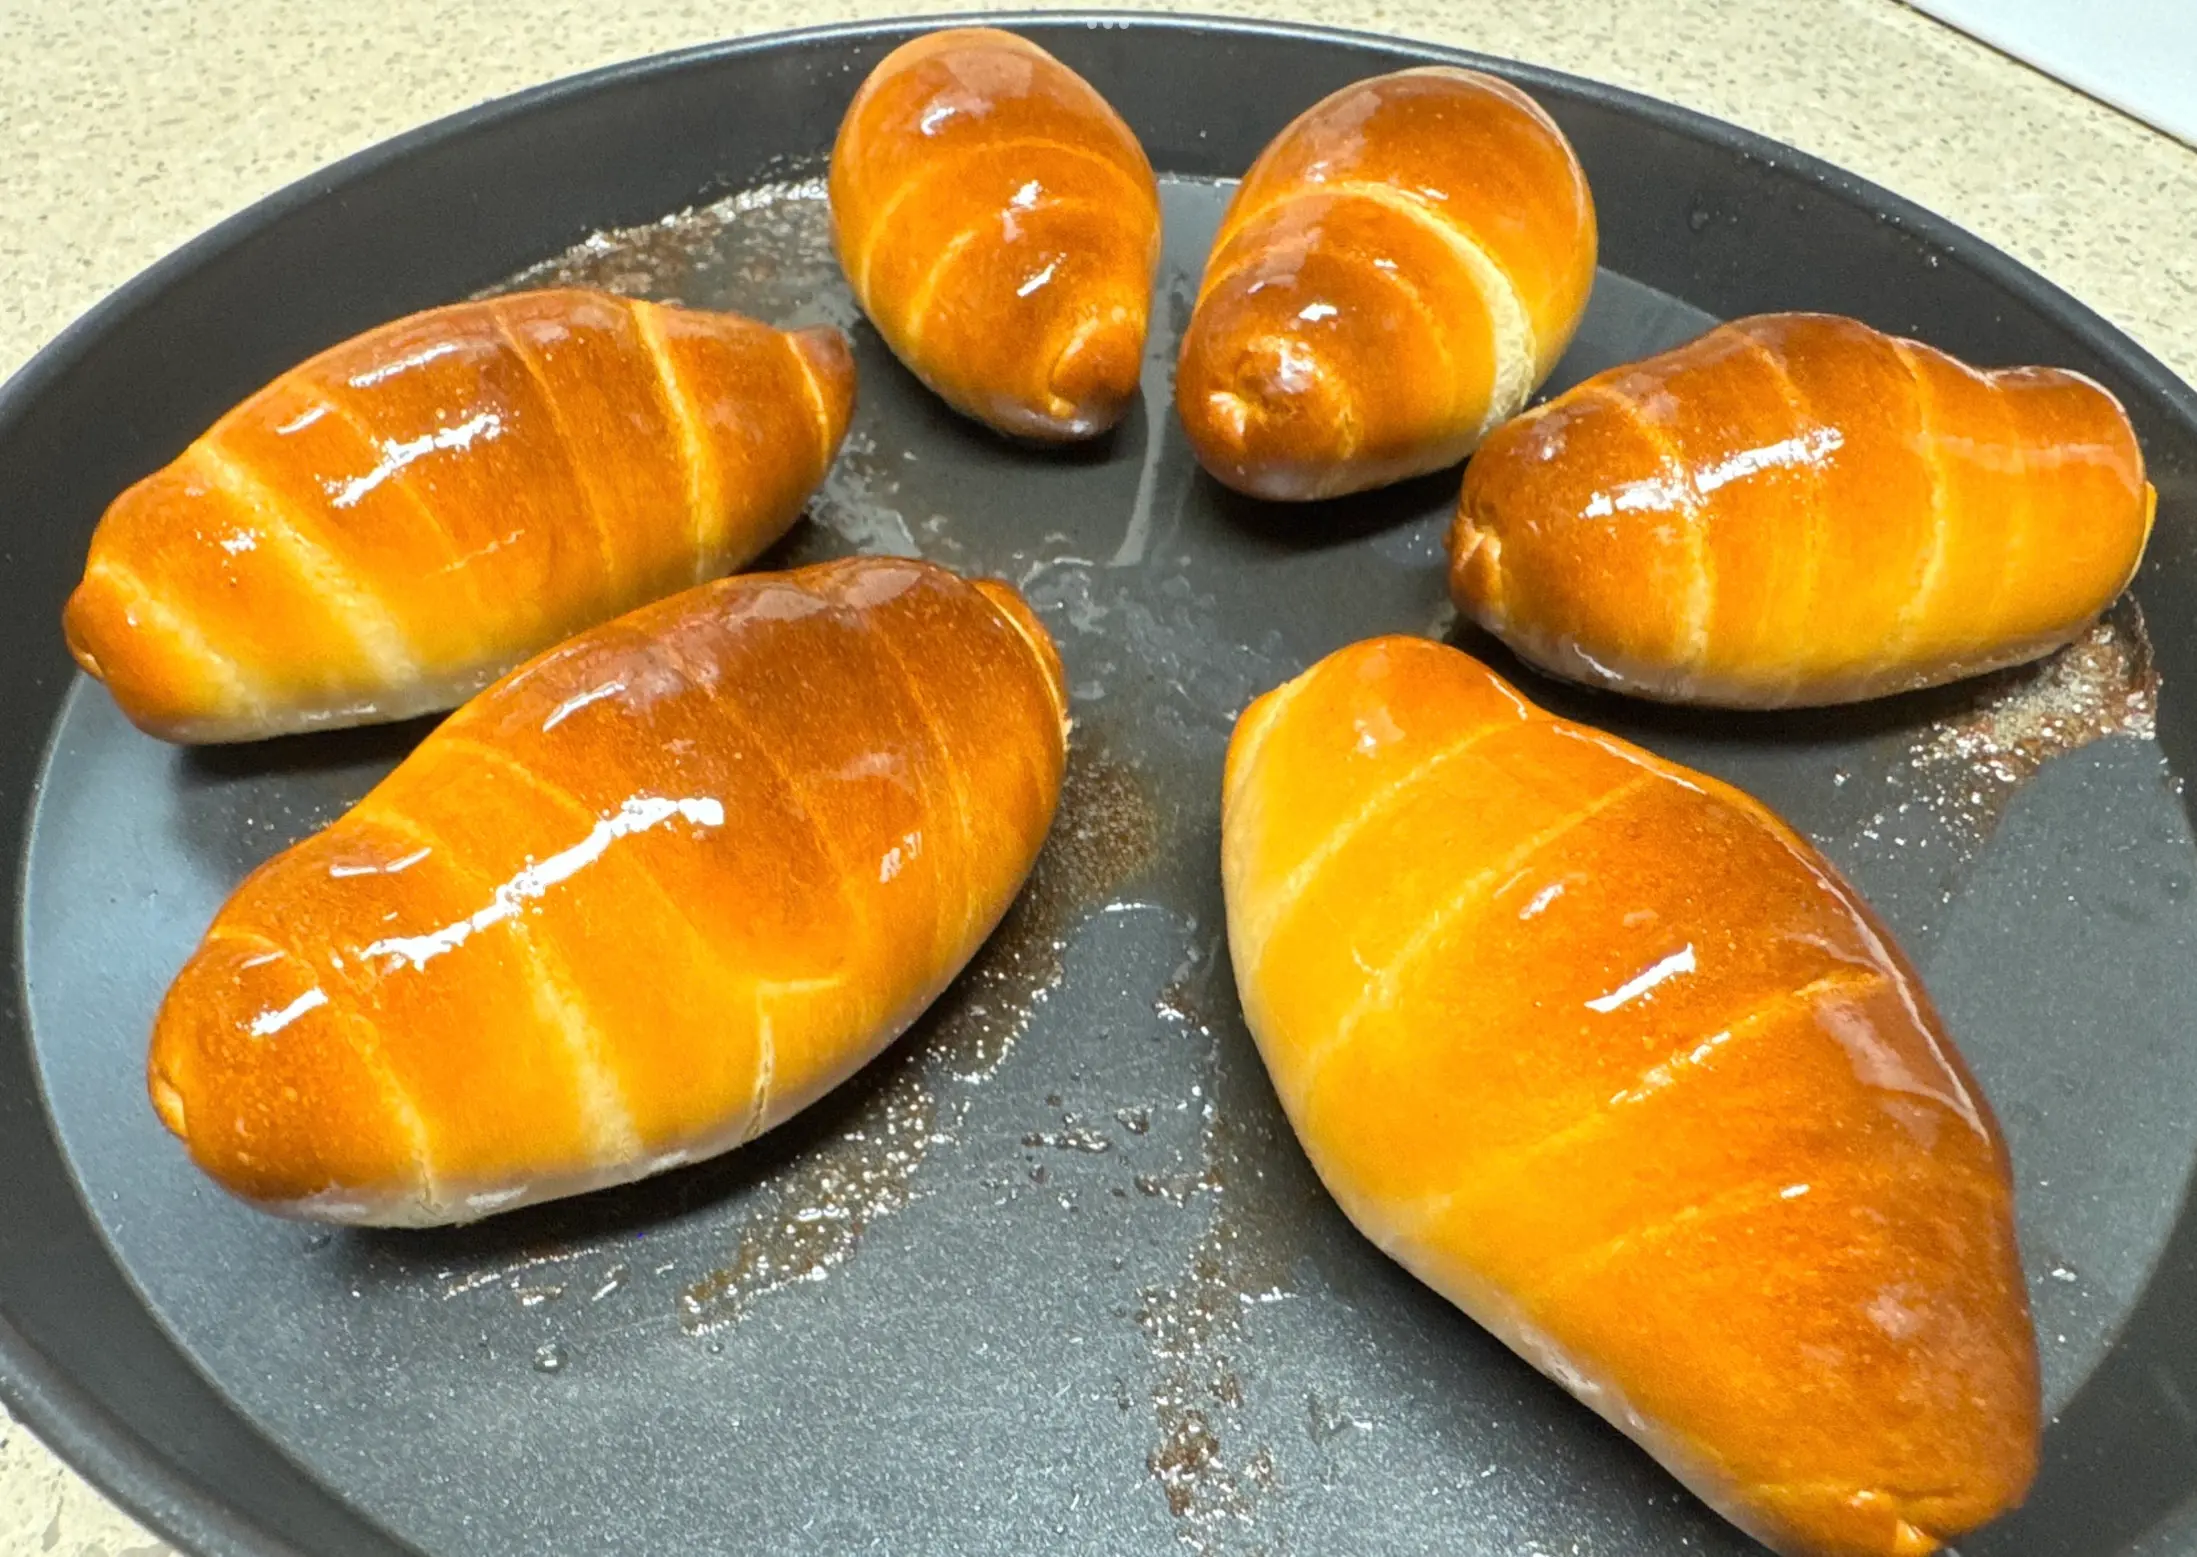
As the rolls cool down, you will hear a faint crackling sound as the crust contracts. When you tear one open, you should see a clean, hollow cave in the center, surrounded by soft, feather-light, buttery layers.
💛 Wrapping Up My Baking Journey
Baking at home as a self-taught enthusiast has been a journey of discovery. Making bread with simple, clean ingredients, pure water, and a bit of love is incredibly rewarding. Seeing my husband light up as he takes a bite of a warm, crispy roll makes all the kneading and waiting worth it.
By understanding the relationship between gluten, temperature, and steam, you can easily replicate bakery-quality salt rolls in your own kitchen. I hope this detailed guide inspires you to preheat your oven and bring some warm, buttery joy to your home. Happy baking! :)