Making Braised Spicy Chicken – Another Shift in the Kitchen After a Day of Parenting
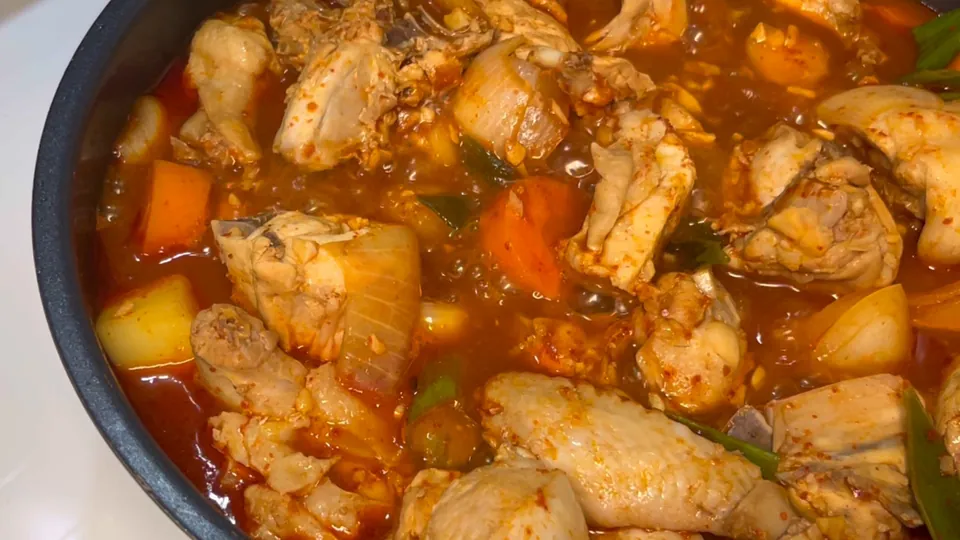
Dakbokkeumtang, Korea’s traditional spicy braised chicken dish, is said to have evolved from royal-style steamed chicken recipes of the Joseon era. Made by simmering chicken with gochujang and vegetables, it’s a beloved comfort food across the country with countless regional variations.
Hello there~
Today, I’d love to share the story of making spicy braised chicken (Dakbokkeumtang) using fresh Costco chicken.
After a long, fulfilling, yet exhausting day of parenting, I “clock out” of childcare only to immediately “clock in” to my second shift of the day in the kitchen. It is a familiar routine for many parents, and while it can be tiring, the joy of feeding my family and seeing them eat with bright smiles makes every ounce of effort completely worthwhile 😊. When the weather gets chilly or when we feel a bit low on energy, there is nothing quite as comforting and replenishing as a steaming pot of spicy, savory Dakbokkeumtang.
In this post, I will walk you through the recipe, but I will also share the culinary science behind the cooking steps, essential kitchen safety tips, storage methods, and pairing suggestions to help you make the absolute best version of this Korean classic right in your own kitchen!
📋 Recipe Overview
- Prep & Cook Time: Approx. 45 mins
- Difficulty: Medium
- Servings: 2-3 servings
- Cooking Method: Air-frying / Oven Baking
🛒 Starting with Costco Chicken
For this batch, I picked up a 1.8kg (approx. 4 lbs) pack of prepped chicken from Costco. The quality and freshness of the meat were outstanding. The chicken was already cut into pieces of the perfect size for braising. What made me particularly happy was that the pack contained four drumsticks! Since my husband is a huge fan of chicken legs, having four drumsticks meant we would have a very generous and satisfying meal without having to split them.
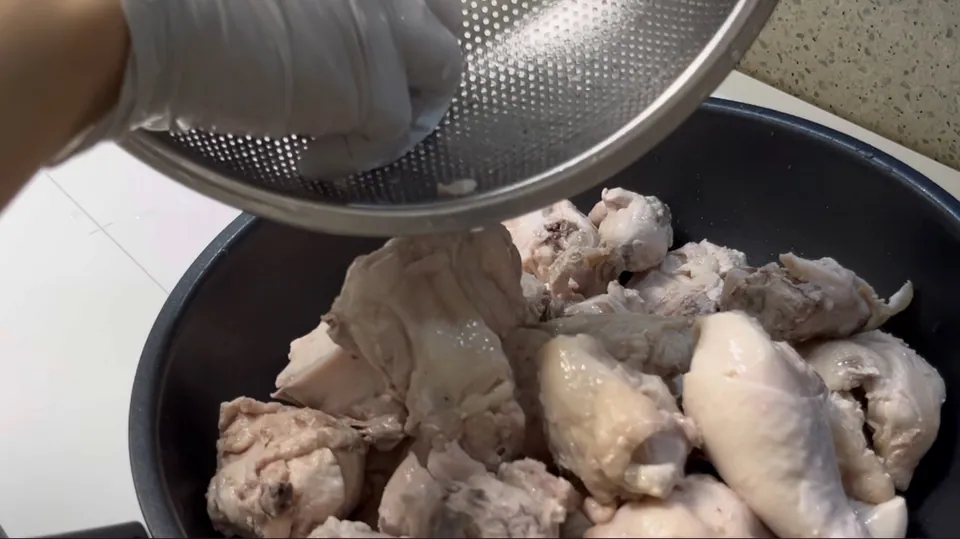
⚠️ Kitchen Safety: Preventing Cross-Contamination
When working with raw poultry, food safety must always be your top priority. Raw chicken frequently carries harmful pathogens such as Campylobacter and Salmonella, which are leading causes of foodborne illness.
One common mistake many home cooks make is washing raw chicken under running water in the sink. Do not wash raw poultry. Science shows that washing chicken does not effectively remove bacteria; instead, the splashing water can spray microscopic bacterial droplets up to three feet away, contaminating your countertops, sink faucet, clean dishes, and ready-to-eat foods.
The safest method is to transfer the chicken directly from its packaging into the pot of boiling water for blanching. After handling raw chicken, immediately wash your hands with warm water and soap for at least 30 seconds, and thoroughly sanitize your cutting boards, knives, and countertops.
🧪 The Science of Blanching Chicken
Before diving into the main braising process, I blanched the chicken in boiling water for about 3 to 5 minutes to remove any unpleasant smells, excess fat, and impurities. This pre-cooking step is crucial for achieving a clean, clear, and professional-tasting broth.
When raw chicken enters boiling water, two important physical reactions occur:
- Thermal Coagulation: The heat quickly denatures and coagulates the proteins on the outermost layer of the meat. This creates a gentle barrier that helps lock in the inner juices, ensuring the chicken stays succulent during the long braise.
- Purification of Volatiles: The boiling water forces residual blood, marrow particles, and oxidized surface fats (which contain volatile odor compounds like trimethylamine) to coagulate and rise to the surface as foam.
After blanching, discard the dirty water and rinse each chicken piece thoroughly under cold running water. This washes away any clinging scum and tightens the skin’s collagen fibers, resulting in a cleaner flavor and a much firmer, more pleasant texture.
🧂 Making the Sauce – Freestyle with Heart
I always try to prioritize our family’s health when cooking, so I designed this recipe to be moderate in sugar and sodium. Instead of using heavy corn syrups or tons of refined white sugar, I utilized allulose—a low-calorie, low-glycemic sweetener—to bring out a natural sweetness that doesn’t cause blood sugar spikes.
Here is the balanced seasoning blend I used:
- 1T sugar
- 3T gochugaru (Korean chili flakes)
- 3T soy sauce
- 1T mirin
- 1T sesame oil
- 1T allulose
- 1T light soy sauce (white soy sauce / soup soy sauce)
- 1T minced garlic
- 2T gochujang (Korean chili paste)
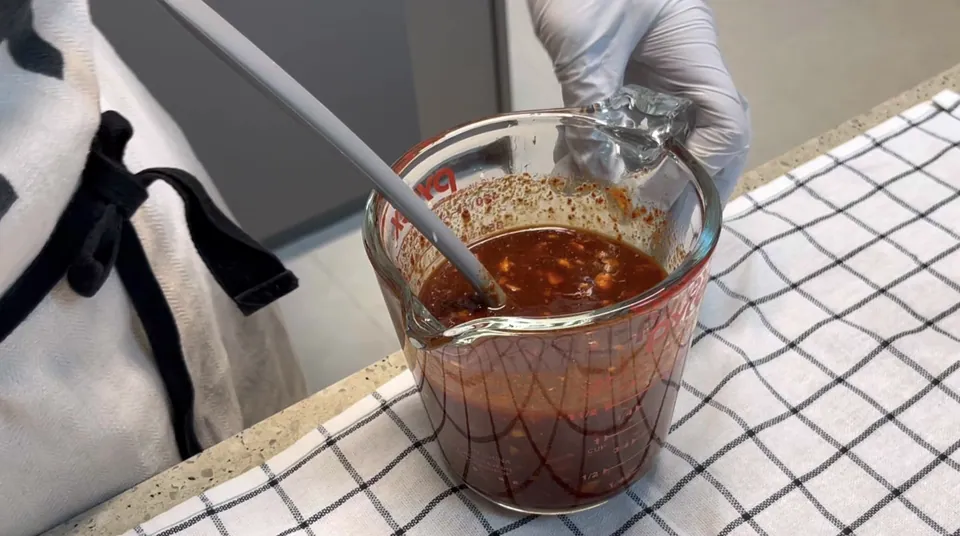
Despite being less sweet and salty than restaurant versions, the flavor was incredibly rich! Because the seasoning wasn’t overpowering, the natural savory taste of the chicken and the sweetness of the vegetables really came through. Both my husband and I were highly satisfied.
🧪 Osmosis and Tenderness in Seasoning
The ingredients in the sauce do far more than just flavor the food; they change its molecular structure:
- Sugar and Mirin for Tenderizing: Sugar molecules are highly hygroscopic, meaning they attract and bind to water. When applied early, they penetrate the muscle fibers and increase their water-holding capacity. Mirin contains alcohol, which helps soften the collagen and connective tissues, preventing the chicken from becoming tough.
- Salt and Soy Sauce for Moisture Retention: Through the process of osmosis, salt draws out a small amount of moisture initially, but it quickly dissolves the filament proteins (specifically myosin) within the chicken’s muscle fibers. This restructuring allows the meat to hold onto its juices even when subjected to heat, preventing the chicken breast from drying out.
🥕 Prepping Veggies – Including Baby Food Leftovers
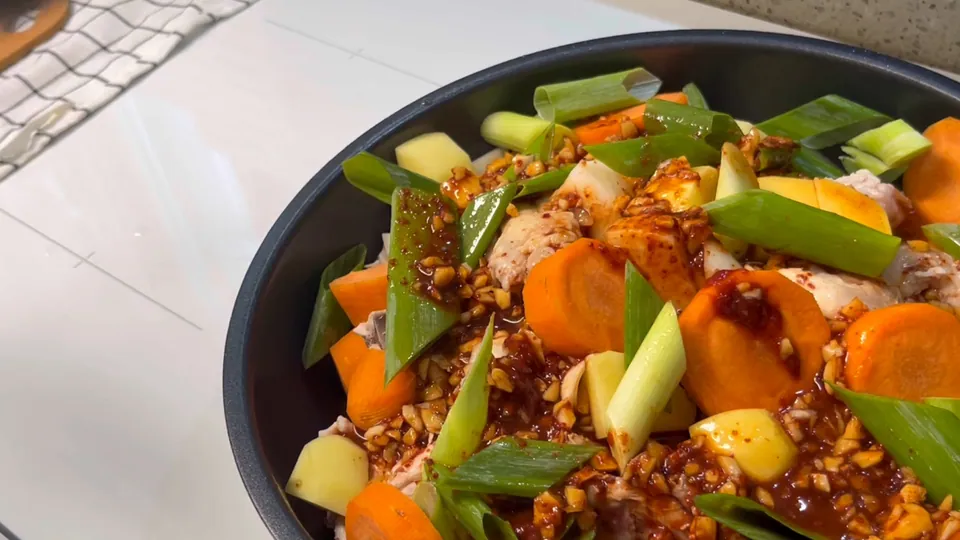
For the vegetables, I prepped onions, carrots, potatoes, and green onions. Cutting them into large, rustic chunks is important because it prevents them from disintegrating during the long simmering process.
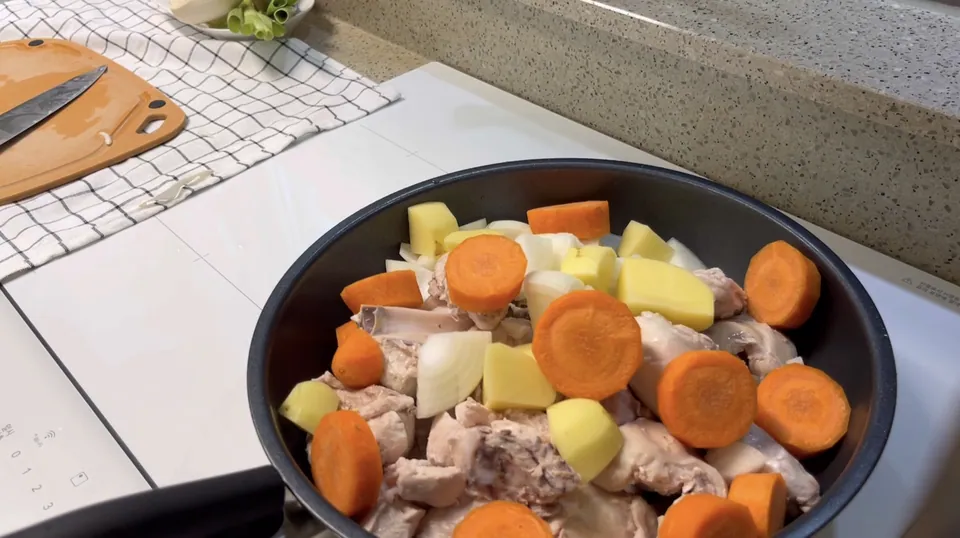
The carrots were actually leftover pieces from making baby food for my child the day before. In a busy household, finding smart ways to minimize food waste by incorporating leftovers into the family meal is a satisfying little victory! Since my husband and I both love how sweet and tender carrots become in Dakbokkeumtang, I added a very generous amount. I also sliced the green onions into thick pieces.
💡 Chef’s Secret: Chamfering (Mentori)
To keep the stew looking clean and professional, take a minute to round off the sharp edges of your potato and carrot chunks with a paring knife. This culinary technique is called chamfering (or mentori in Japanese cooking).
When vegetables boil, they constantly bump into each other. Sharp corners break off easily, releasing starch granules into the liquid. This excess starch will make your broth look muddy and taste chalky. Rounding the edges keeps the vegetables intact and ensures a beautiful, clear sauce.
🍲 Simmering – Where Sauce Meets Ingredients
After arranging the blanched chicken and vegetables in a wide pot, I added the seasoning paste and poured in just enough water to submerge the lower two-thirds of the ingredients. Remember, vegetables—especially onions—contain a massive amount of water that will be released as they heat up, so do not overfill the pot.
🧪 Temperature Control: The Simmering Sweet Spot
For the ultimate texture and flavor integration, follow these three stages:
- Initial Rolling Boil (High Heat): Bring the pot to a boil uncovered for the first 5 minutes. The high heat volatilizes the alcohol from the mirin, carrying away any remaining chicken odors.
- Gentle Simmer (Medium-Low Heat): Once boiling, cover the pot and reduce the heat to a gentle simmer (around 85°C to 95°C / 185°F to 203°F) for 20 minutes. If you boil chicken aggressively on high heat, the muscle proteins contract tightly like a wrung-out sponge, squeezing out all the moisture and turning the meat dry and stringy. A gentle simmer slowly breaks down tough collagen in the chicken’s connective tissue into gelatin, resulting in fall-off-the-bone tenderness.
- Reducing (Lid Off): For the final 10 minutes, take the lid off and let the liquid bubble. This evaporates the water, concentrating the sauce. The amino acids from the chicken and the natural sugars from the carrots and onions interact under the heat, creating a complex, caramelized flavor profile (the Maillard reaction).
🍽️ Plating – Opposite Tastes, Perfect Harmony
I transferred the bubbling Dakbokkeumtang into a large serving dish and set the table with a few simple homemade side dishes.
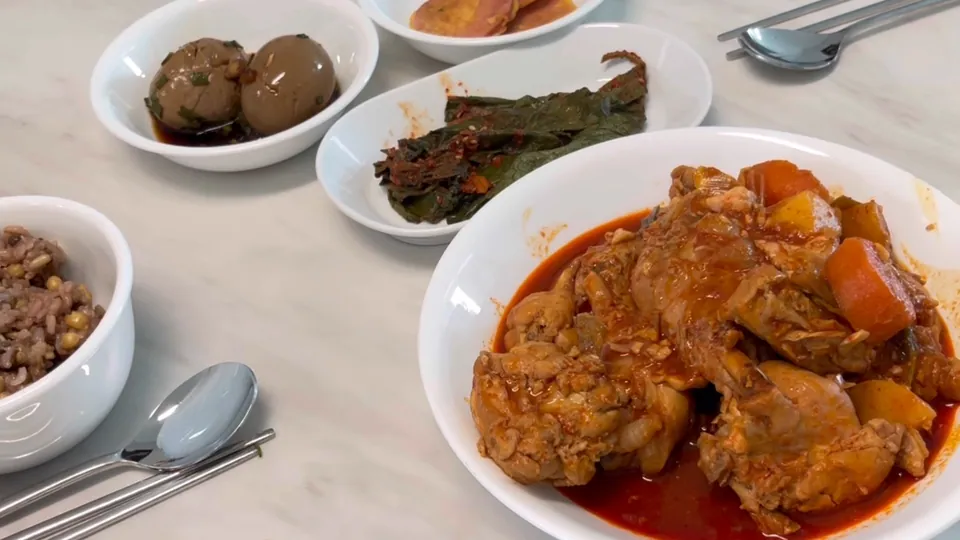
My husband and I have completely opposite tastes when it comes to chicken, which works out beautifully! He absolutely loves the juicy, tender drumsticks and wings, whereas I prefer the lean, meaty texture of chicken breast and tenderloins. Whenever we eat chicken, there is never any conflict over who gets what; we simply trade our favorite pieces and enjoy a harmonious meal. He joked that eating Dakbokkeumtang with me is one of his favorite things because he gets to eat all four drumsticks by himself! Our different preferences make us the perfect dining partners.
🥗 Nutrient Synergy & Flavor Pairings
Because Dakbokkeumtang is spicy and rich, it pairs best with dishes that soothe the palate:
- Gyeran-jjim (Korean Steamed Egg Custard): The high water content and soft texture of steamed egg coat the tongue, neutralising the heat of capsaicin.
- Oi-ji (Pickled Cucumber) or Ssam-mu (Pickled Radish): The acidity of vinegar cuts through the richness of the chicken fat, refreshing the palate between bites.
🥡 Safe Storage and Reheating Guidelines
Chicken is a high-protein, high-moisture food, making it highly susceptible to rapid bacterial growth if left in the “Danger Zone” (4°C to 60°C / 40°F to 140°F).
- Cooling & Refrigerating: Cool the leftovers to room temperature within 2 hours of cooking, then transfer to an airtight container. Refrigerate and consume within 3 to 4 days.
- Freezing: If you want to store it longer, freeze it in portion-sized containers for up to 3 months.
- Safe Reheating: Always reheat leftovers until they reach a rolling boil (internal temperature of 74°C / 165°F) to ensure any bacteria are destroyed. If the sauce has thickened too much, stir in 2 to 3 tablespoons of water before reheating.
💛 Wrapping Up
Cooking a hearty meal for my family after a long day of childcare is my way of showing love. Dakbokkeumtang is a classic, but the chemistry of the ingredients and the care put into preparing it make each pot feel unique.
I hope this detailed guide inspires you to whip up a comforting bowl of spicy braised chicken tonight. Take care, eat well, and have a wonderful day! 🍚